How to Divide Iris
How to Divide Iris
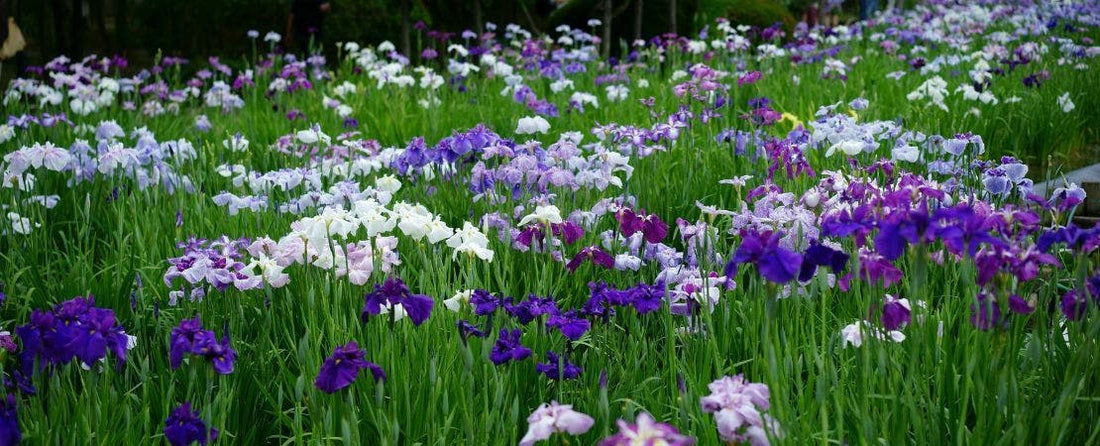
Bearded irises are stunning, low-maintenance perennials—but to keep them blooming their best, they need to be divided every 2–3 years. Luckily, it’s easy to do, and late summer is the perfect time. Here’s how.
Thankfully, bearded irises are very easy to dig up, as their rhizomes sit right at soil level. In fact, irises grow best when the top of the rhizomes have some sun exposure.
Step-by-Step: How to Divide Bearded Irises
1. Dig Carefully
Bearded iris rhizomes grow at the soil surface, so they’re easy to lift. Gently dig around each clump, preserving as many roots as possible.
2. Rinse and Inspect
Wash off the soil to get a clear look at the rhizomes. Discard or trim any soft spots or holes—these could be signs of rot or borers.
3. Divide at the Joints
Use a clean, sharp knife to separate healthy rhizomes at their natural divisions. Each piece should have at least one fan of leaves and several roots.
4. Trim the Leaves
Cut the foliage back to about 6 inches. This reduces stress on the plant and helps it focus energy on re-establishing.
5. Replant the Divisions
Plant the rhizomes so the tops are just exposed to the sun. Space them about 12–18 inches apart in well-drained soil with full sun.
It's truly as simple as that! You'll soon be enjoying even more of your favorite irises, and if you're looking for a great companion plant, try mixing them with daylilies. They both appreciate sunshine and good drainage, and bloom successively, with the daylilies blooming just as the irises are fading, often with a period of overlapping blooms from both.
Once you’ve divided your irises, you can expand your flower beds, fill in new garden spaces, or share extras with friends. Since they need dividing every few years, irises are not only beautiful—they’re budget-friendly too.