Creating a Spore Print

Learn how to make a beautiful spore print to better understand mushroom identification, structure, and reproduction for garden science and mycology education.
Spore prints are used for three main purposes: mushroom cultivation, mushroom identification (as different mushrooms have different colored spores), and, of course, art.
Making spore prints is not only an easy, fun way to get to know mushrooms but also a very cheap way to cultivate more mushrooms at home.
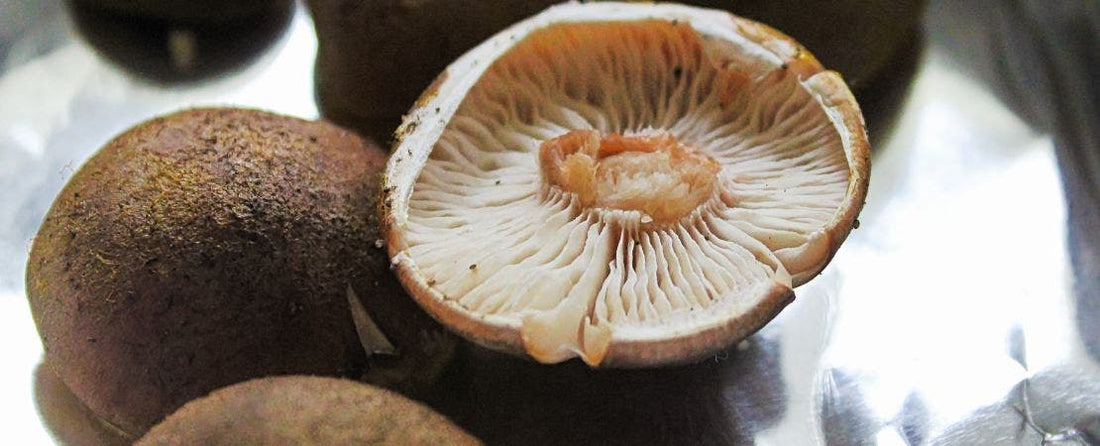
For mushrooms with gills (spores lie on the gill surface) and mushrooms with pores (spores inside the pores underneath the cap), follow these instructions.
- Cut off the stem and place the cap, with the gills facing down, on a piece of aluminum foil, a white piece of paper, an index card or a glass microscope slide.
- Put a drop of water on the top of the cap to help release the spores.
- Cover the cap with a paper cup or glass and leave for 2-24 hours, depending on the humidity and the freshness of the mushroom. The spores will fall on the paper, foil or glass, making a spore print pattern.
If you don't want to separate the cap from the stem, make a hole in an index card, place the card on a paper cup and slide the stem of the mushroom through the hole until the underside of the cap is resting on the card; then proceed as above.
If the mushroom is hard, it is more difficult to obtain spore prints. Some polypore's not only take a long time to mature and produce spores but also can often live a long time after they’ve produced and dispersed their spores. Try wrapping them in wet paper towels or newspapers overnight before putting them down on foil, paper or glass to make a spore print. Note that the spore bearing surface always faces down toward the ground as the polypore grows.
To study the spores with a microscope, scrape off some of the spores from your spore print with a needle or scalpel onto a microscope slide. Place a drop of water on the spores and cover with a cover slip.
To preserve your spore print, spray them lightly with an artist spray or hair spray. Hold the spray at least 12 to 15 inches away from the print.


